To put it very simply, the field of view in astronomy is how much sky you can see, as measured in degrees.
For example, if we had eyes in both the front and the back of our heads, our field of view would be 360 degrees because we’d be able to see everything around us. But more realistically, we typically see everything in front of us and a bit to the sides. In numerical terms, the average human eye, without the help of binoculars or a telescope, has a field of view of about 210 degrees.
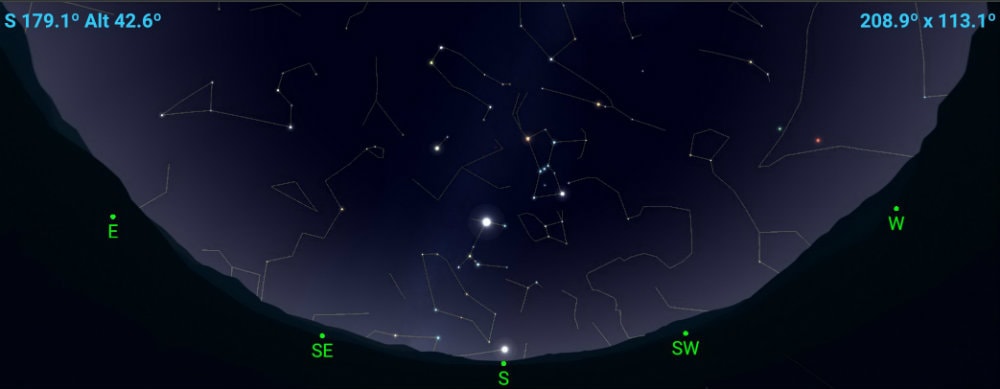
In astronomy, the field of view (FOV) usually refers to how much of the sky we can see through the eyepiece of a telescope. If one telescope has a larger field of view than the other, it simply means I can see more of the surrounding sky with that telescope.
Calculating the Field of View Of a Telescope With An Eyepiece
Telescopes function differently from binoculars because I can change the eyepieces. Any time I change the eyepiece, I’m changing the magnification and, along with it, yes, you’ve guessed it, the field of view.
Unfortunately, as a result, calculating the telescope field of view is a little complicated. There are a couple of methods to do this, but the following is the simplest—and even that’s a two-step process.
- Step 1: Calculating the Magnification
This first part is the easiest. Almost all amateur astronomers know how to calculate the magnification of their eyepieces already. If you’re new to all these, let me guide you through.
Telescope magnification = focal length of telescope / focal length of eyepiece.
To see anything through a telescope, we have to look through an eyepiece attached to the telescope. But in order for the light to reach the eyepiece, it first has to enter the telescope. From there, how the light travels within the telescope depends on what type of telescope you have (reflectors, refractors, and catadioptrics are the most common types).
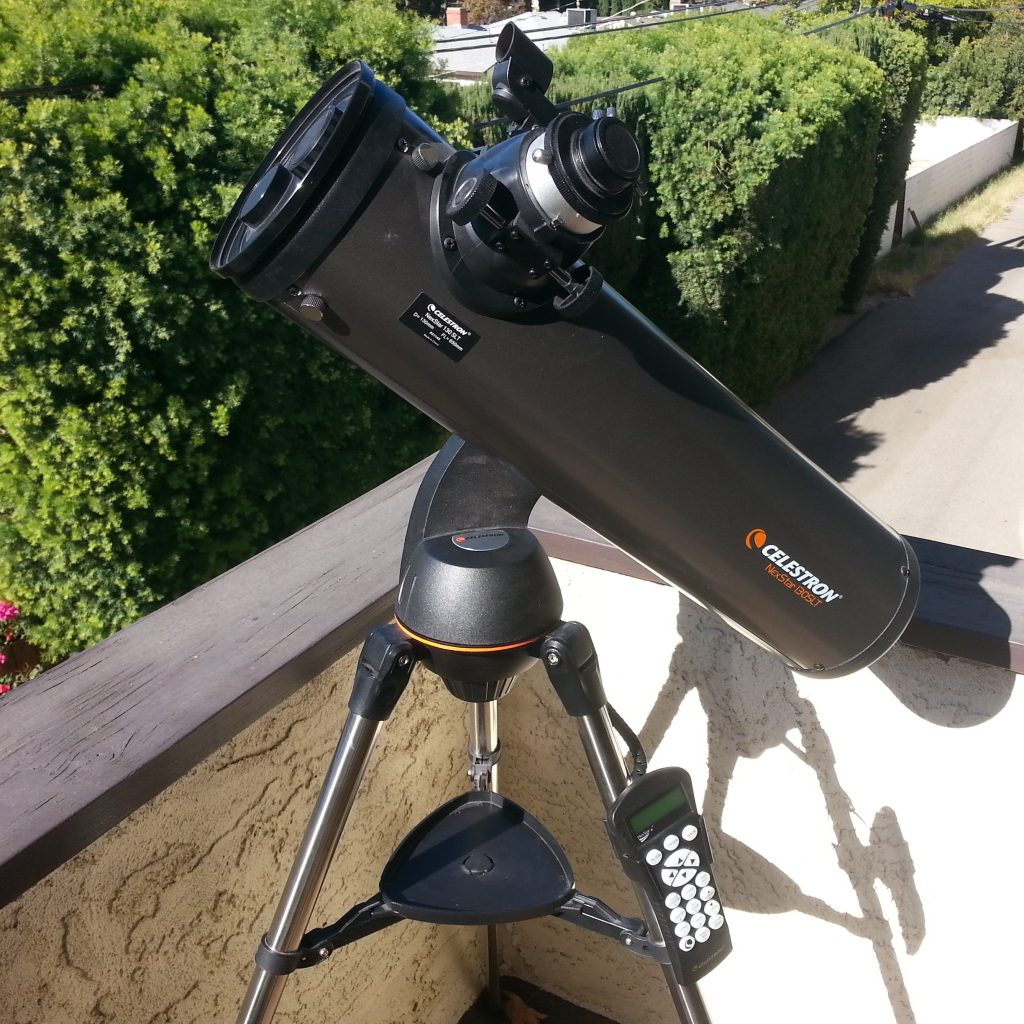
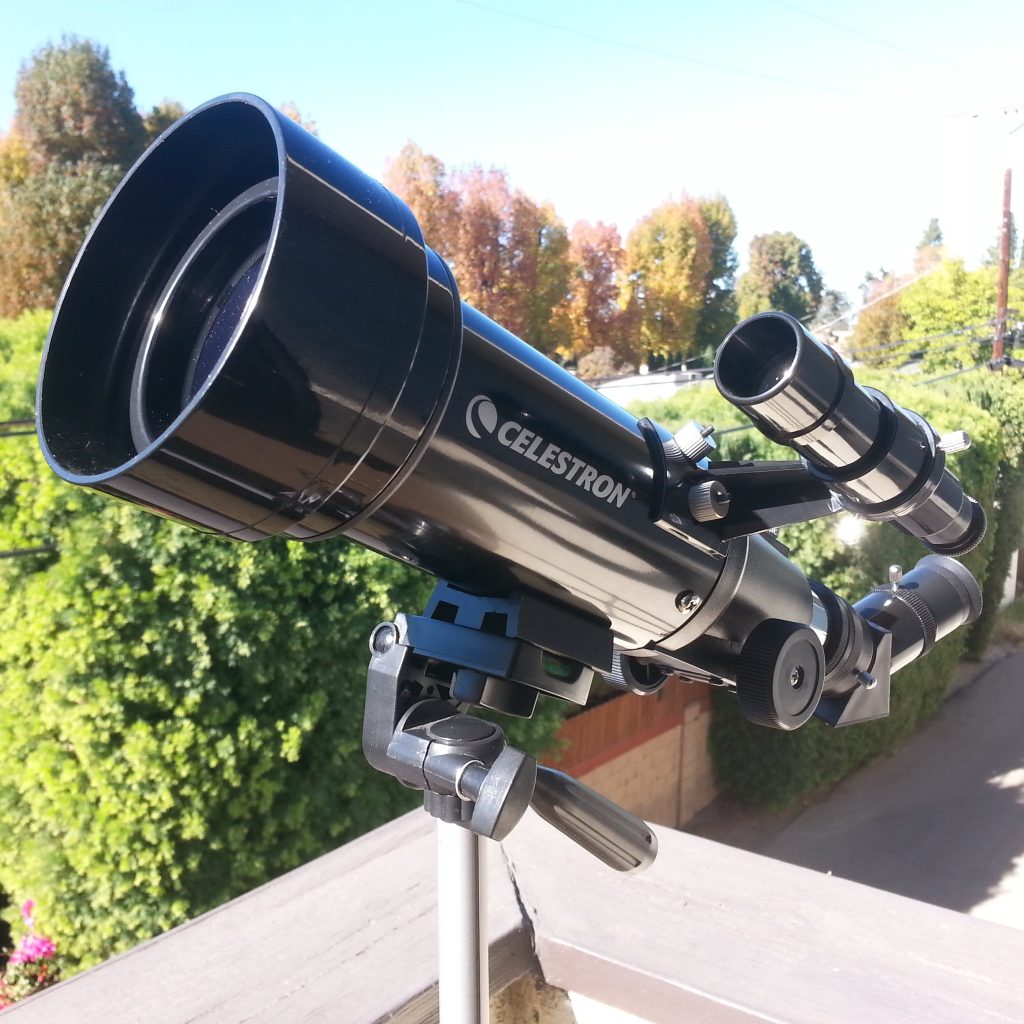
Regardless of whether you have a refractor, a reflector, or any of the catadioptric type of telescope, all of these have what’s known as a “focal length”. This is basically the distance that light travels from the objective lens (in the case of refractors) or the primary mirror (in the case of reflectors) to the eyepiece where the image is formed for us to view.
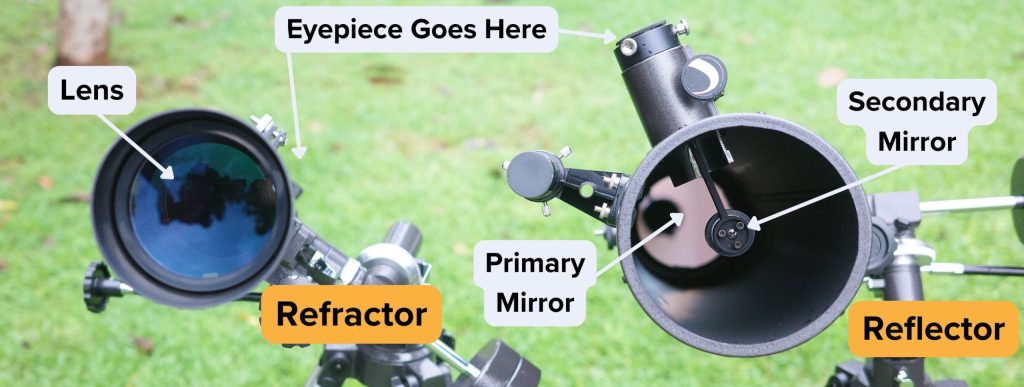
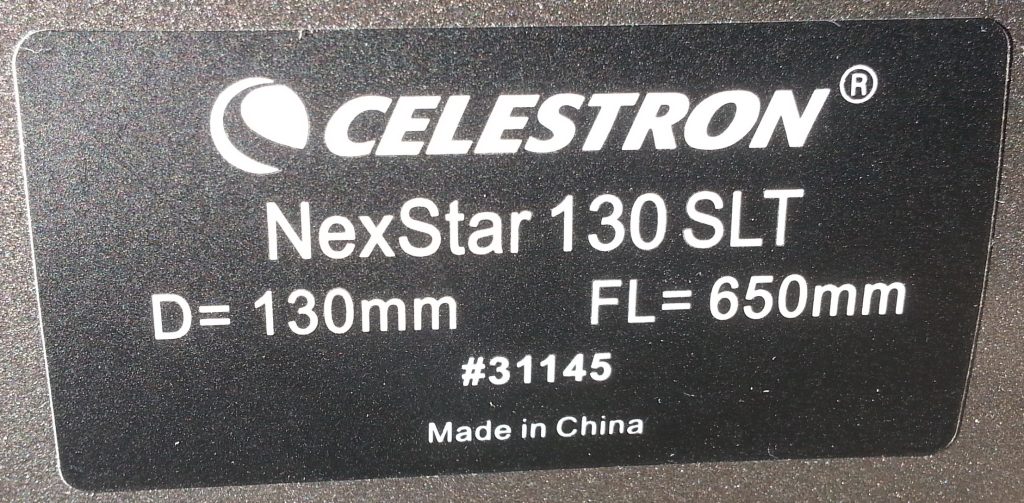
For example, my Celestron NexStar 130SLT reflector telescope has a focal length of 650 mm. In other words, light travels 650mm (65 cm) from the primary mirror of the telescope to its eyepiece.
You can typically find the focal length specified on a sticker on the optical tube of your telescope. If not, you may need to look for your telescope’s specifications online.
All eyepieces also have a focal length, which is marked either on the barrel of the eyepiece or on the top. Like the focal length of a telescope, this is also measured in millimetres. Unlike a telescope, the focal lengths of eyepieces are very short and will typically range anywhere between 3mm and about 40mm.
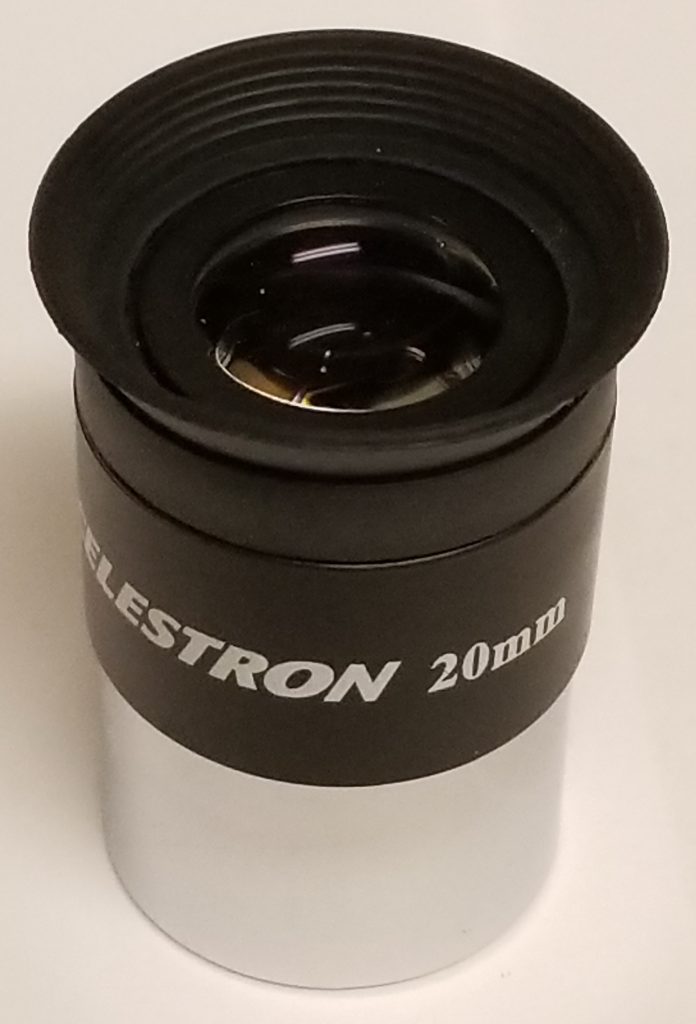
To calculate the magnification of your eyepiece, you divide your telescope’s focal length by the focal length of the eyepiece you’re using.
For example, one of my longest Celestron eyepieces has a focal length of 25mm, so that’s 650 (telescope focal length) divided by 25 (eyepiece focal length), which equals a magnification of nearly 26x. My shortest eyepiece has a focal length of 3 mm, which gives me a magnification of nearly 217x (650/3).
Any given eyepiece can give you a different magnification with a different telescope, depending upon the focal ratio of the telescope that you’re using the eyepiece with. But as a general rule, the lower the magnification, the larger the field of view, and the higher the magnification, the smaller the field of view.
- Step 2: Calculating Your True Field of View
Here’s where it gets a little complicated: the telescope’s true field of view calculator.
Your eyepiece has what’s known as an Apparent Field of View (AFOV) value that’s inherent to the eyepiece. This is the number of degrees of sky your eyepiece would show you if you held it directly up to your eye without using a telescope. (Obviously, it wouldn’t be very effective; you need a telescope to magnify and focus the view!)
Unfortunately, unlike the eyepiece focal length, not all eyepieces will have the apparent field of view specified anywhere on it. You’ll probably need to either refer to the eyepiece or telescope’s original packaging or try looking it up online. If I’m unable to find the specifications anywhere, what I usually do is take the apparent field of view as 50 degrees, especially if the eyepiece isn’t an expensive one.
The true field of view is the number of degrees your eyepiece shows you when you use it with your telescope. To calculate this, you divide the eyepiece’s apparent field of view by the magnification that the eyepiece provides when used with the telescope.
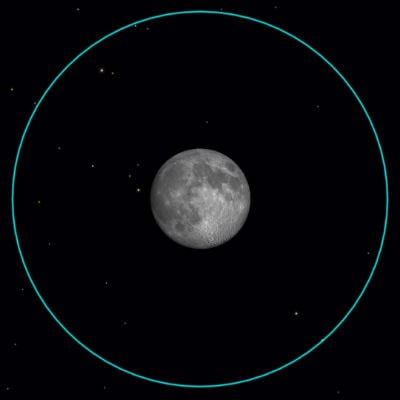
For example, I have a zoom eyepiece that can vary its focal length from 24mm to 8mm. When set to the focal length of 24mm, it has an inherent apparent field of view of 60 degrees. With my 650mm NexStar 130SLT, it gives me a magnification of 27x (650/24). Dividing 60 by 27 gives me a true field of view of about 2.2 degrees, or about the width of four full Moons, which is shown in the picture below.
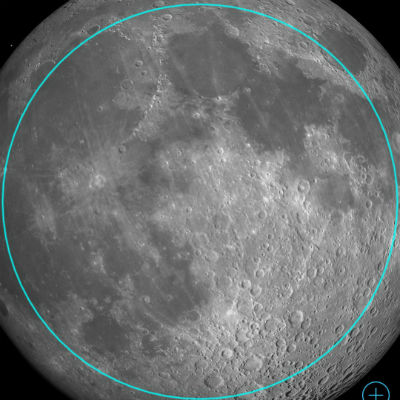
Compare that to the view when it’s set to a focal length of 8 mm. This gives me a magnification of about 81x with my NexStar 130SLT and an inherent apparent field of view of 40 degrees. Dividing 40 by 81 gives me 0.49 degrees, or a little less than the width of the full moon, as in the simulated view below.
Why is Field of View Important?
I’d argue that there are three primary reasons.
Reason 1: Field of View Awareness for Navigating with Star Charts
Firstly, unless you’re using a computerised GoTo telescope, you’re probably star-hopping. That means you’re using a star chart to hunt down your target. This typically involves starting with a bright star that you can easily see and then hopping across to other stars until you reach your destination.
If you’re star-hopping, it’s important to know your field of view; otherwise, you won’t know which stars will be visible through your eyepiece. Get the field of view wrong, and you could get lost looking for the next star to hop to.
Reason 2: Leveraging Higher Field of View for Sharp Focusing
As a general rule, the higher the magnification you’re using, the smaller your true field of view. The smaller your field of view, the fewer stars you can see.
If you’re observing a nebula, galaxy, or small globular cluster—objects that, unlike stars, aren’t sharply defined—it can sometimes be hard to tell if your view is properly focused. In this situation, you’d focus upon the stars that appear nearby. By adjusting the focus so that the stars appear sharp, you can be certain that your target is properly focused too.
The larger your field of view, the more stars are visible to use as reference points for precise focusing.
Reason 3: Higher Field of View for a Richer Observing Experience
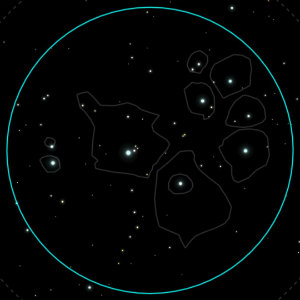
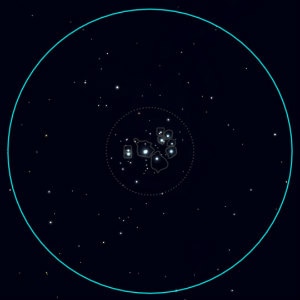
If you’re using high magnification, your target can dominate your view. If your intention is to study the object close-up, then this might be fine, but otherwise, the view loses a lot of its visual appeal.
It’s almost as though you lose the context of what you’re looking at. If you stand just inches away from a tree, you might only see the bark and a few leaves. You lose the context of seeing the tree as a whole and all the surrounding trees in the forest.
Likewise, using high magnification to split a double star might achieve that goal, but you could also lose a sense of what you’re actually observing. The experience is heightened by seeing the surrounding stars that appear nearby.
The sense of depth is greater with a higher field of view, and, depending on your aesthetic sensibilities, your experience could be much more meaningful as a result.
Is There Something Called the “Best Field of View”?
With a larger field of view, you see more of the sky through the equipment you’re using. With a smaller field of view, you see less of the sky. Arguably, then, leaving aside the aesthetics, it really depends on what you want to observe.
Small objects, such as the moon, planetary nebulae, and even planets themselves, can be easily observed with a small field of view, as long as there’s a nearby star to focus on.
Star clusters and nebulae often require a wider field of view because they’re typically larger and are best observed at low magnification.
At the end of the day (or night), regardless of what you’re observing or the equipment you’re using, there’s just one rule you should always bear in mind: enjoy the view!
