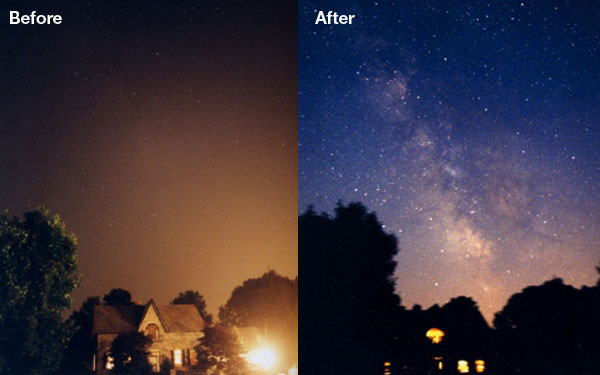
I live in a Bortle 8 location. This would be dark white or off-white on the DarksiteFinder.com light pollution map. When I look at the Andromeda Galaxy from this location, using my 8” telescope, it is just a small, slightly greyish fuzzy patch in the sky. But if I go to a dark red zone, approximately Bortle 6, that smudge becomes a much larger oval-shaped object with a bright core, more like what I expect of a galaxy.
If I go to a Bortle 4 location, approximately a yellow zone, I still can’t see the Andromeda Galaxy very well with my naked eye. But in my telescope, it begins to show suggestions of dust lanes and the spiral shape that we expect. The two small companion galaxies, M32 and M110, are also readily apparent in my telescope.
The difference is not the telescope; it is the level of light pollution in the sky. At the darker locations, the galaxy has more contrast with the lower background glow of the sky.
In the following sections, I discuss this growing problem of light pollution and how I carefully plan and deal with it to enhance my observing experience in my local conditions. I will also talk about the types of targets that are more impacted by light pollution and those that are less affected by light pollution.
The Two Types of Light Pollution
When we talk about light pollution, we are talking about two forms: ground and sky.
- Ground light pollution, or glare, comes from your immediate surroundings.
- Sky light pollution, or sky glow, is caused by the cumulative light from our local area projecting outward for dozens or hundreds of kilometres. As astronomers living in large cities, we often refer to this as the “sky glow dome”, which results from the collective light of highway lights, building lights, and other sources.
The First Type: Ground Light Pollution
Ground light pollution, usually referred to as ‘glare’ in scientific literature and by DarkSky, is the light pollution that comes from our house lights, our neighbour’s house lights, and the street light in front of our house.
It can also come from a nearby parking lot, hospital, or other commercial site where they keep big lights on all the time. For the most part, I’m talking about lights you can see or that are close enough to light the area immediately around you.
If you live in the countryside, where houses are spread out and there are no nearby commercial buildings or streetlights, then this may not be a problem for you unless someone in your family has a habit of leaving on a particular light that shines out your window (you can see why blackout curtains are an astronomer’s friend). But if you are like most of us and live in a city or a bright suburb, then ground light pollution is something you will have to deal with when you are observing the sky.
But ground light pollution is also something you can perhaps reduce with some effort.
The Remedy to Ground Light Pollution: Dark Adaptation
The effect of ground light pollution is on your eyes. Your iris controls how much light is allowed to reach your retina, which is where your light sensor cells reside. It does that by expanding or contracting the size of your pupil, the black centre of your eye.
In order to see as much as possible when looking at the night sky through binoculars or through a telescope eyepiece, we want our eyes to fully dark adapt, letting in the most light possible. As we are looking at things in the sky that are dim, we want our eyes to be as light-sensitive as possible.
To experience dark adaptation in order to understand how it affects what we see, stand in a brightly lit room in your home at night. Close the shades or the blinds to minimise any light from outside. Now, turn off the lights.
Initially, you may not be able to see anything as your eye adjusts to the bright room, like you were in a moment ago. The room may appear completely black.
After a few moments, your eye will begin dark adapting, picking up the traces of light that are coming through the window, past the shades. Perhaps light will leak in under the door. The iris will contract, and your pupil will expand to let in more light. The full process can take 20 minutes or longer until your eyes are fully dark-adapted.
As your eyes adapt, the faint amount of light in the room will begin to allow you to see things. First, the outline of the covered window. Then maybe the chair across the room. The longer you stay in the dark, the more your eyes will dark adapt and the more you can see.
To test this outside, pick a night when there is no moon.
Step from your brightly lit home to the darkest location you can find immediately outside your door. As you look up at the sky, you may see very few stars, but slowly more will appear. This will progress over the next 20 minutes until your eyes dark adapt to your local ground lighting level, letting in more light and letting you see more stars than when you first stepped out the door. Of course, this assumes your outside area is darker than the inside of your lit home.
This will happen at the eyepiece too. Try the same experiment, stepping from the house, but this time keep your eye on your binoculars or the eyepiece of your telescope and just watch. Over time, you will see more and more stars in the eyepiece as your eyes dark adapt.
Few Tips to Achieve The Best Dark Adaptation For Your Eyes
- Find an observing location where there are the fewest lights in your line of sight. If possible, pick a spot where passing car headlights cannot be seen. Unfortunately, a quick flash of passing car headlights can undo 20 minutes of dark adaptation. Now you have to wait through the dark adaptation process again.
- If you can’t avoid all light sources, consider ways to block them. Place a tree or a fence between you and the light. Consider putting up some kind of screen. Place a building between you and that street light.
- If you forget something in the lighted house and run in to get it, you will completely lose your dark adaptation, and you will have to wait another 20 minutes for them to get as adapted as they can.
- Wear a bonnet to block as much surrounding light as possible and place it over your head as you look through the eyepiece. Not only will this allow your eyes to better adapt to the dark, but it will also prevent stray light from reflecting off the surface of the eyepiece.
- Some people put an eyepatch over their observing eye to allow it to achieve maximum dark adaptation. When they go to the eyepiece, they keep that eye closed, flip up the eyepatch, and only open the eye when they are at the eyepiece. Again, a bonnet can help preserve the dark adaptation of the eye.
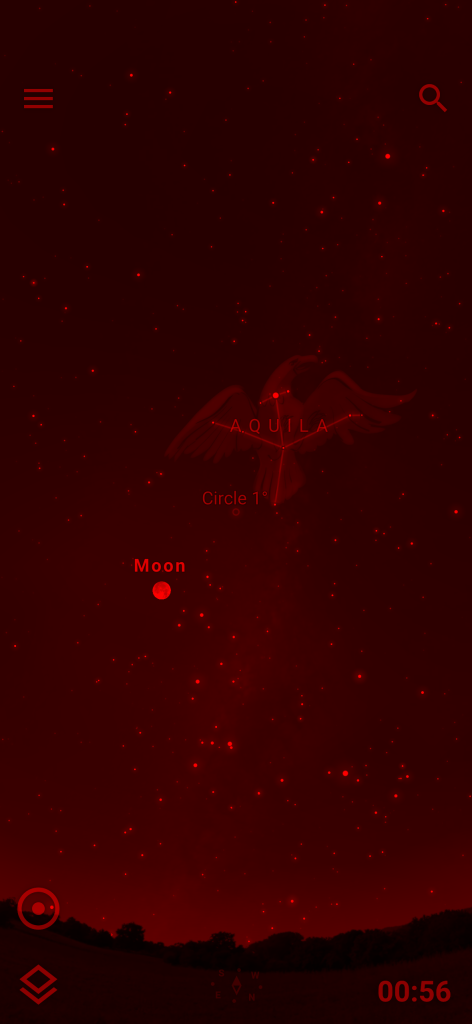
- Avoid looking at bright mobile screens. If you have to, turn on something like a red filter, which would help retain the dark adaptation.
Dealing With The Second Type, Sky Light Pollution
This type of light pollution is harder to address. The only way to deal with skylight pollution is to drive to a location where there is less skylight pollution.
Light pollution filters, which used to be a partial solution, have lost most of their value. I still see advertisements for light pollution filters, though.
At the time when these broadband filters were developed, the majority of municipal lighting was based on sodium and mercury vapour lights that emit light at very specific wavelengths. Light pollution filters could filter out those specific wavelengths. However, as soon as sodium and mercury vapour lights gave way to newer light designs (including white LEDs), these filters became irrelevant. White LEDs cover the full light spectrum, so light pollution filters cannot filter them out.
In addition, broadband filters never blocked the metal halide lamps often still used in car dealerships and sports venues. If you’ve ever driven past a sporting event or a car dealership at night, you should be aware of how much sky glow they produce. Since broadband filters have always been ineffective against such a prime source of sky glow anyway, I think buying one now makes it even more pointless.
If you know someone who has a light pollution filter, fetch one and give it a try. I don’t know; it might help in your area. But for the most part, they have become ineffective in dealing with sky pollution.
For this reason, you may hear that the best light pollution filter is petrol, meaning that you get in the car and drive to a darker location. Frankly, that’s the only thing I do when it comes to sky glow.
The Remedy: Finding Darker Sky Locations
There are a variety of tools available to help you identify areas that have less sky light pollution.
- Lightpollutionmap.info is the most comprehensive and up-to-date of these. You can pinpoint any location you want and get an estimated Sky Quality Metre and Bortle Scale reading. These readings can give you a general idea of where you should be going. You may hear or read comments on astronomy forums about people being in red or green zones. They are referring to Bortle scales in a light pollution map.
- Alternatively, darksky.org has a list of International Dark Sky Parks that are worth visiting, as well as Urban Night Sky Places.
- Your local astronomy club probably has a dark sky site or two they recommend visiting or have even purchased land on.
Of course, no map can address real ground conditions. You might go to a park that is in a darker zone, but if they have the ball field all lit up, that is not going to be indicated by the dark site finder map. That is a ground light pollution/glare issue.
Before reading further, I’d request you to go through four measurements related to dark skies.
The SQM, or Sky Quality Meter, is a device used to measure the brightness of the night sky, providing a quantifiable measure of the impact of light pollution. It measures the luminance of the sky in magnitudes per square arcsecond, which indicates how bright each small patch of sky appears to the observer. A higher SQM reading implies a darker, less light-polluted sky, while a lower SQM reading indicates a brighter sky with more significant light pollution. The SQM isn’t perfect, however, and will give different readings near and far from the horizon, as well as when the Milky Way, a bright planet, or the Moon are up.
Another way to talk about the level of light pollution in a given area is with the Bortle scale. Like an SQM reading, you can describe the level of skyglow based on whether you can see the Milky Way, how dim the dimmest stars you see with your naked eye may be, and so forth.
The centre of a brightly lit city, like New York City, would be classified as Bortle 9. An intermediate level might be described as Bortle 4. This might correspond to a yellow zone on the dark site finder map and so on. The Bortle Scale is only a rough estimate and can vary based on the observer and sky conditions, such as transparency, which cannot always be adequately accounted for.
Magnitude is a measure that tells us how bright a stellar object shines. One way to measure light pollution in your area is by checking the magnitude of stars you can see with your naked eye near the zenith (downright). The higher the number, the dimmer the object. The scale is built around Vega, one of the brightest stars in the sky, which is assigned a value of zero. The Sun is at magnitude -26.74 (notice the negative), and the full moon is the second brightest object at -12.7.
At a truly dark site, you can see stars down to magnitude 7, and with practice, you can see even fainter stars. However, in more light-polluted locations, stars as bright as magnitude 4 may elude you.
Things get tricky when a magnitude number is assigned to a deep sky object like a galaxy or a nebula. While the total amount of light from a magnitude 8 nebula may be equal to that of a magnitude 8 star, the star is a point light source, whereas the light from a nebula is spread out over a larger area. This can be translated into a value for surface brightness through complex math. The bottom line is that a magnitude 8 star appears much brighter than a magnitude 8 galaxy or nebula because the light from the nebula is spread out over a larger area.
Selecting Your Targets According to Your Sky Light Pollution Conditions
| Map colour | Bortle Scale | SQM Reading | Magnitude Limit with Naked Eye (Expert) | Magnitude Limit with Naked Eye (Beginner) | Magnitude Limit with 50mm Binocular | Magnitude Limit with 8” Dobsonian | Magnitude Limit with 25” Dobsonian |
| Black | 1 | >21.9 | 8.5 | 7 | 12 | 15 | 18.5 |
| Gray-blue | 2 | 21.6-21.9 | 8.25 | 7 | 12 | 14.75 | 18.25 |
| Green-blue | 3 | 21.3-21.7 | 7.5 | 7 | 12 | 14.5 | 18 |
| Yellow-dark yellow | 4 | 20.8-21.4 | 7 | 6.5 | 11.5 | 14.25 | 17 |
| Red-orange | 5 | 19.8-21 | 6.5 | 6 | 11 | 14 | 16 |
| Red-pale red | 6 | 19.5-20 | 6 | 5 | 10 | 13 | 15.5 |
| Red-pink | 7 | 19-19.5 | 5 | 4 | 9 | 12 | 13.5 |
| Pink-white | 8 | <19 | 4 | 3 | 8 | 11 | 13 |
| White | 9 | <18.5 | 3 | 3 | 7 | 11 | 13 |
If you are in a dark area with few direct sources of glare and little to no sky glow, many targets will be accessible to you and will look their best in your telescope. For the rest of us, we need to incorporate light pollution into our planning for what we want to observe.
Light pollution levels affect all stars, deep-sky objects, faint Solar System objects, and the naked-eye Milky Way, but some are more affected than others.
Targets that are less sensitive to light pollution include point light sources, such as stars or planets, and deep-sky objects that are made up of individual stars that can be resolved through binoculars or a telescope. These shine brightly as points of light or a collection of points of light, in contrast to the glow of the sky.
Good examples would be:
- Sun
- Moon
- Planets
- Open Star Clusters
- Double Stars
Fainter stars, as well as faint Solar System objects (e.g., dim dwarf planets and icy moons), can be washed out by light pollution even though they are still point sources. My best views of open star clusters are under dark skies, and I at least need be under moderately dark skies to go after Pluto, the faint moons of Saturn and
Targets that are more sensitive to light pollution are those that have their light spread out over a larger area where we may not be able to resolve point light sources. This lowers their contrast with the surrounding sky, making them harder to see.
Here, surface brightness numbers are more indicative of how easily they can be seen. A magnitude 8 galaxy is much dimmer than a magnitude 8 star. So we turn to the surface brightness numbers for guidance. Targets where surface brightness is a better indicator are:
- Galaxies
- Nebulae
- Globular star clusters
- Comets
My Advice for Planning an Observing Session
- Learn about the light pollution level in your observing area and plan your targets accordingly
If you are at a very light-polluted location, say Bortle 6 to 9, you may wish to focus on open clusters, planets, stars, and double stars. There are some brighter nebulae, such as the Orion Nebula or the Ring Nebula, that can still be viewed from a light-polluted location with good detail.
If you plan a trip to a darker location, that is the time to focus on galaxies, nebulae, and other targets with low surface brightness. You may be able to detect them at the light-polluted site, but they will be more satisfying at the darker location.
- Go for observations at early hours of the morning or at midnight.
Many urban locales dim their streetlights after 10 p.m. or midnight. Even if this is not the case, as people go to sleep and businesses close, there is inevitably a decrease in light pollution from many of the worst sources of sky glow. Also, absent additional complicating factors like moonlight or humidity, I often see a significant decrease in the sky glow brightness if I observe in the very early hours of the morning compared to right after it gets dark.
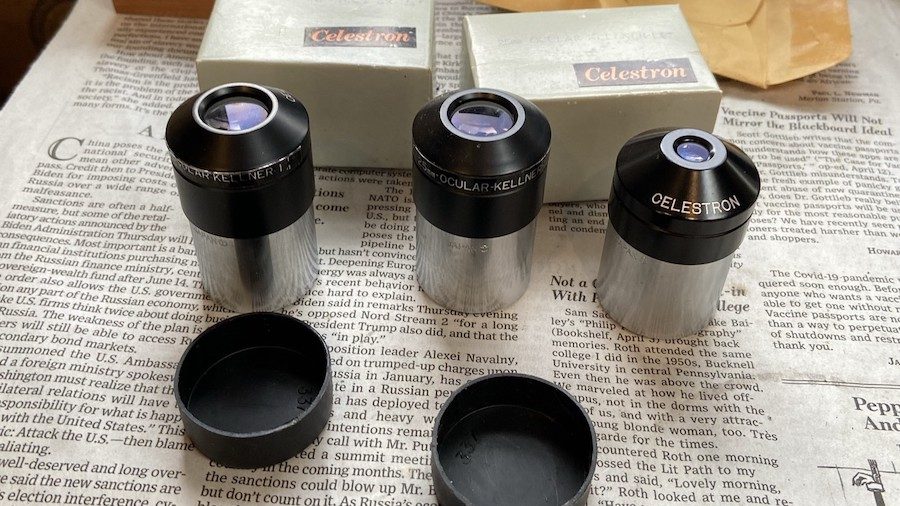
- Make sure that you are using decent eyepieces (and if not a Newtonian, a decent star diagonal)
Poor optics can scatter light and make sources of glare or sky glow appear far worse at the eyepiece than their deleterious effects should actually be.
- Looking down your telescope’s empty focuser drawtube, all you should be able to see is a sea of black and the reflection from your secondary mirror or out through the lens.
If your telescope fails in this department, adjustments are needed. Paint exposed glass edges black, paint inside your focuser drawtube, line your tube walls with black velvet flocking, cover the back of your mirror cell, and/or add an extended front baffle or dew shield to your tube if need be.
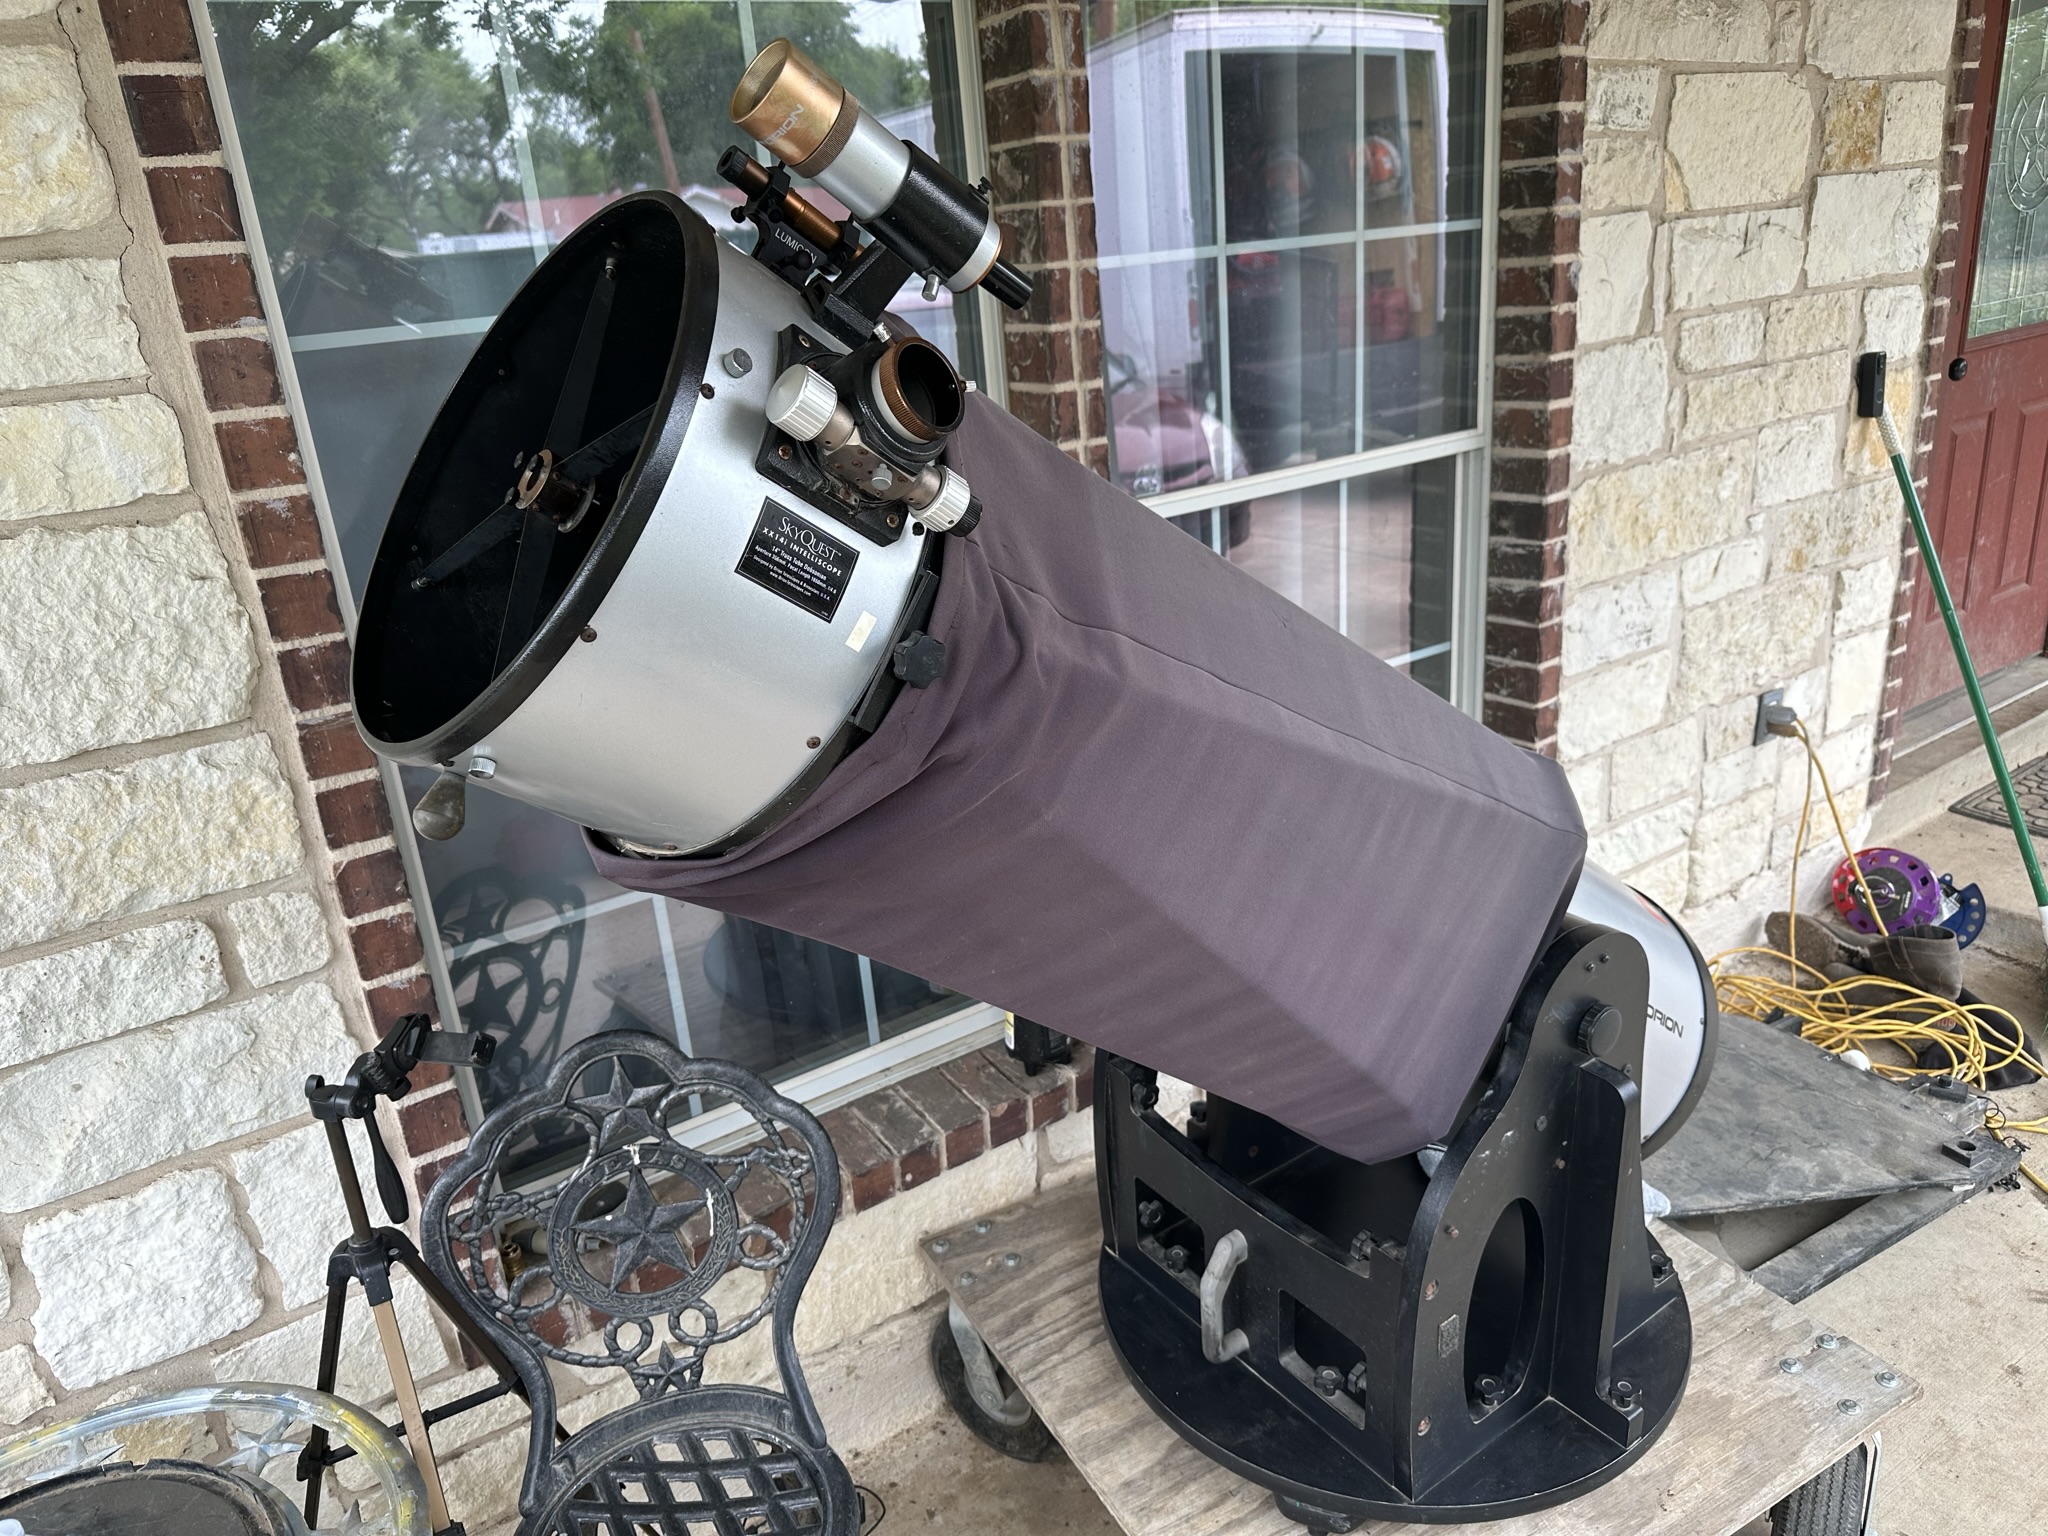
If you are using an open-tubed telescope, a tightly fitting shroud or baffle is a must.
- Avoid observing if your atmosphere has severe smoke/dust particles
When light encounters these small particles, it can be redirected in various directions, a process known as scattering. This effect increases the overall brightness and glow of the sky, reducing contrast and obscuring faint celestial objects. This is one reason why the night sky in urban areas or regions affected by wildfires or dust storms is often brighter and less clear than in rural or unpolluted areas.
- Avoid observing right after rain
While you might be tempted to go observing right after rain has taken dust and other pollutants out of the air, it’s possible that the scattering of excess moisture obviates this advantage. Humidity also scatters light. You’ll also inevitably encounter the dew or frost. Observers in humid climates can easily lose 0.5 magnitudes on the SQM or an entire 1-2 Bortle classes to high humidity.
Thin clouds can also form without warning, often obstructing the sky and reflecting light back down.
- Beware of snow near light pollution sources
Snow is, of course, extremely reflective. How reflective, exactly? Upwards of 90%. For comparison, asphalt, water, dirt, and grass or foliage are all less than 20% reflective. That means that over 4 times as much sky glow is bouncing back off the ground when there’s a thick coating of snow. If you live anywhere near a large source of light pollution, snow is going to completely and utterly ruin your ability to see the Milky Way, stars, and deep-sky objects.
- Watch out for thin, high-altitude clouds
Clouds are also fairly reflective. Thin, high-altitude clouds are the worst of all, as they tend to reflect light pollution back down while also absorbing light from the sky above. Higher clouds can also reflect light pollution from further away and are more likely to stick around, which makes them particularly obnoxious.
- Plan around the Moon’s phases
While it’s largely unavoidable and very far away, the Moon is also a reflective object (albeit duller than asphalt), and it reflects the worst light pollution of all—that of the Sun. Observing on a night when the Moon is above the horizon and even a thin crescent is equivalent to adding light pollution. Brightness goes up exponentially thanks to the inverse-square law and the incident angle of light hitting the Moon, so a 25% illuminated Moon is 4 times dimmer than a half-full one.
Moon is more full than a slender crescent; either wait for it to set (or observe before it rises) or adjust your observing expectations accordingly, as the Moon will wash out most of the sky just like a source of light pollution would.